1. Support
Thank you so much for choosing Levre WordPress Theme. We have put a lot of effort and love creating it. In this documentation, we have tried to consider all the important details to run your website successfully. In case you have any questions left, please feel free to submit a support ticket here.
Your feedback on our theme is much appreciated. We would love to make our product even better, so please feel free to get in touch with any suggestions for improvement. Thanks again for your support. We value you!
If you like our work, please rate it. If you are going to rate it with less than 5 stars, please let us know the reason first and we will do our best to improve the theme.


2. Theme Installation
After you’ve installed WordPress on your hosting, download the archive with the purchased theme, unzip it and prepare levre.zip and levre-child.zip archives. Open your WordPress dashboard.
Go to Appearance > Themes and click on Add New.
Click on Choose File and select the levre-child.zip. Click Install Now.
You will see the success message ‘Theme has been installed successfully’, click on the Return to Themes page and do the same for levre.zip.

You will see your new levre theme and child theme appear in the dashboard. Press the Activate button on your levre-child theme, you will work with the levre-child theme and do not activate your levre theme.
After activation you will be redirected to the ‘Welcome’ page of the theme. Now you need to install all the plugins used in the theme: click on the Install Theme Plugin button.
Select all plugins in the list, choose Select from the dropdown menu and click on the Apply button. Installation process will begin, it might take a couple of minutes, please wait until it's finished.
Once the installation process is finished, you will see a success message ‘All plugins installed and activated successfully’. Click on the Return to the Dashboard action link.
From your admin panel go to Appearance > Import Demo Data.
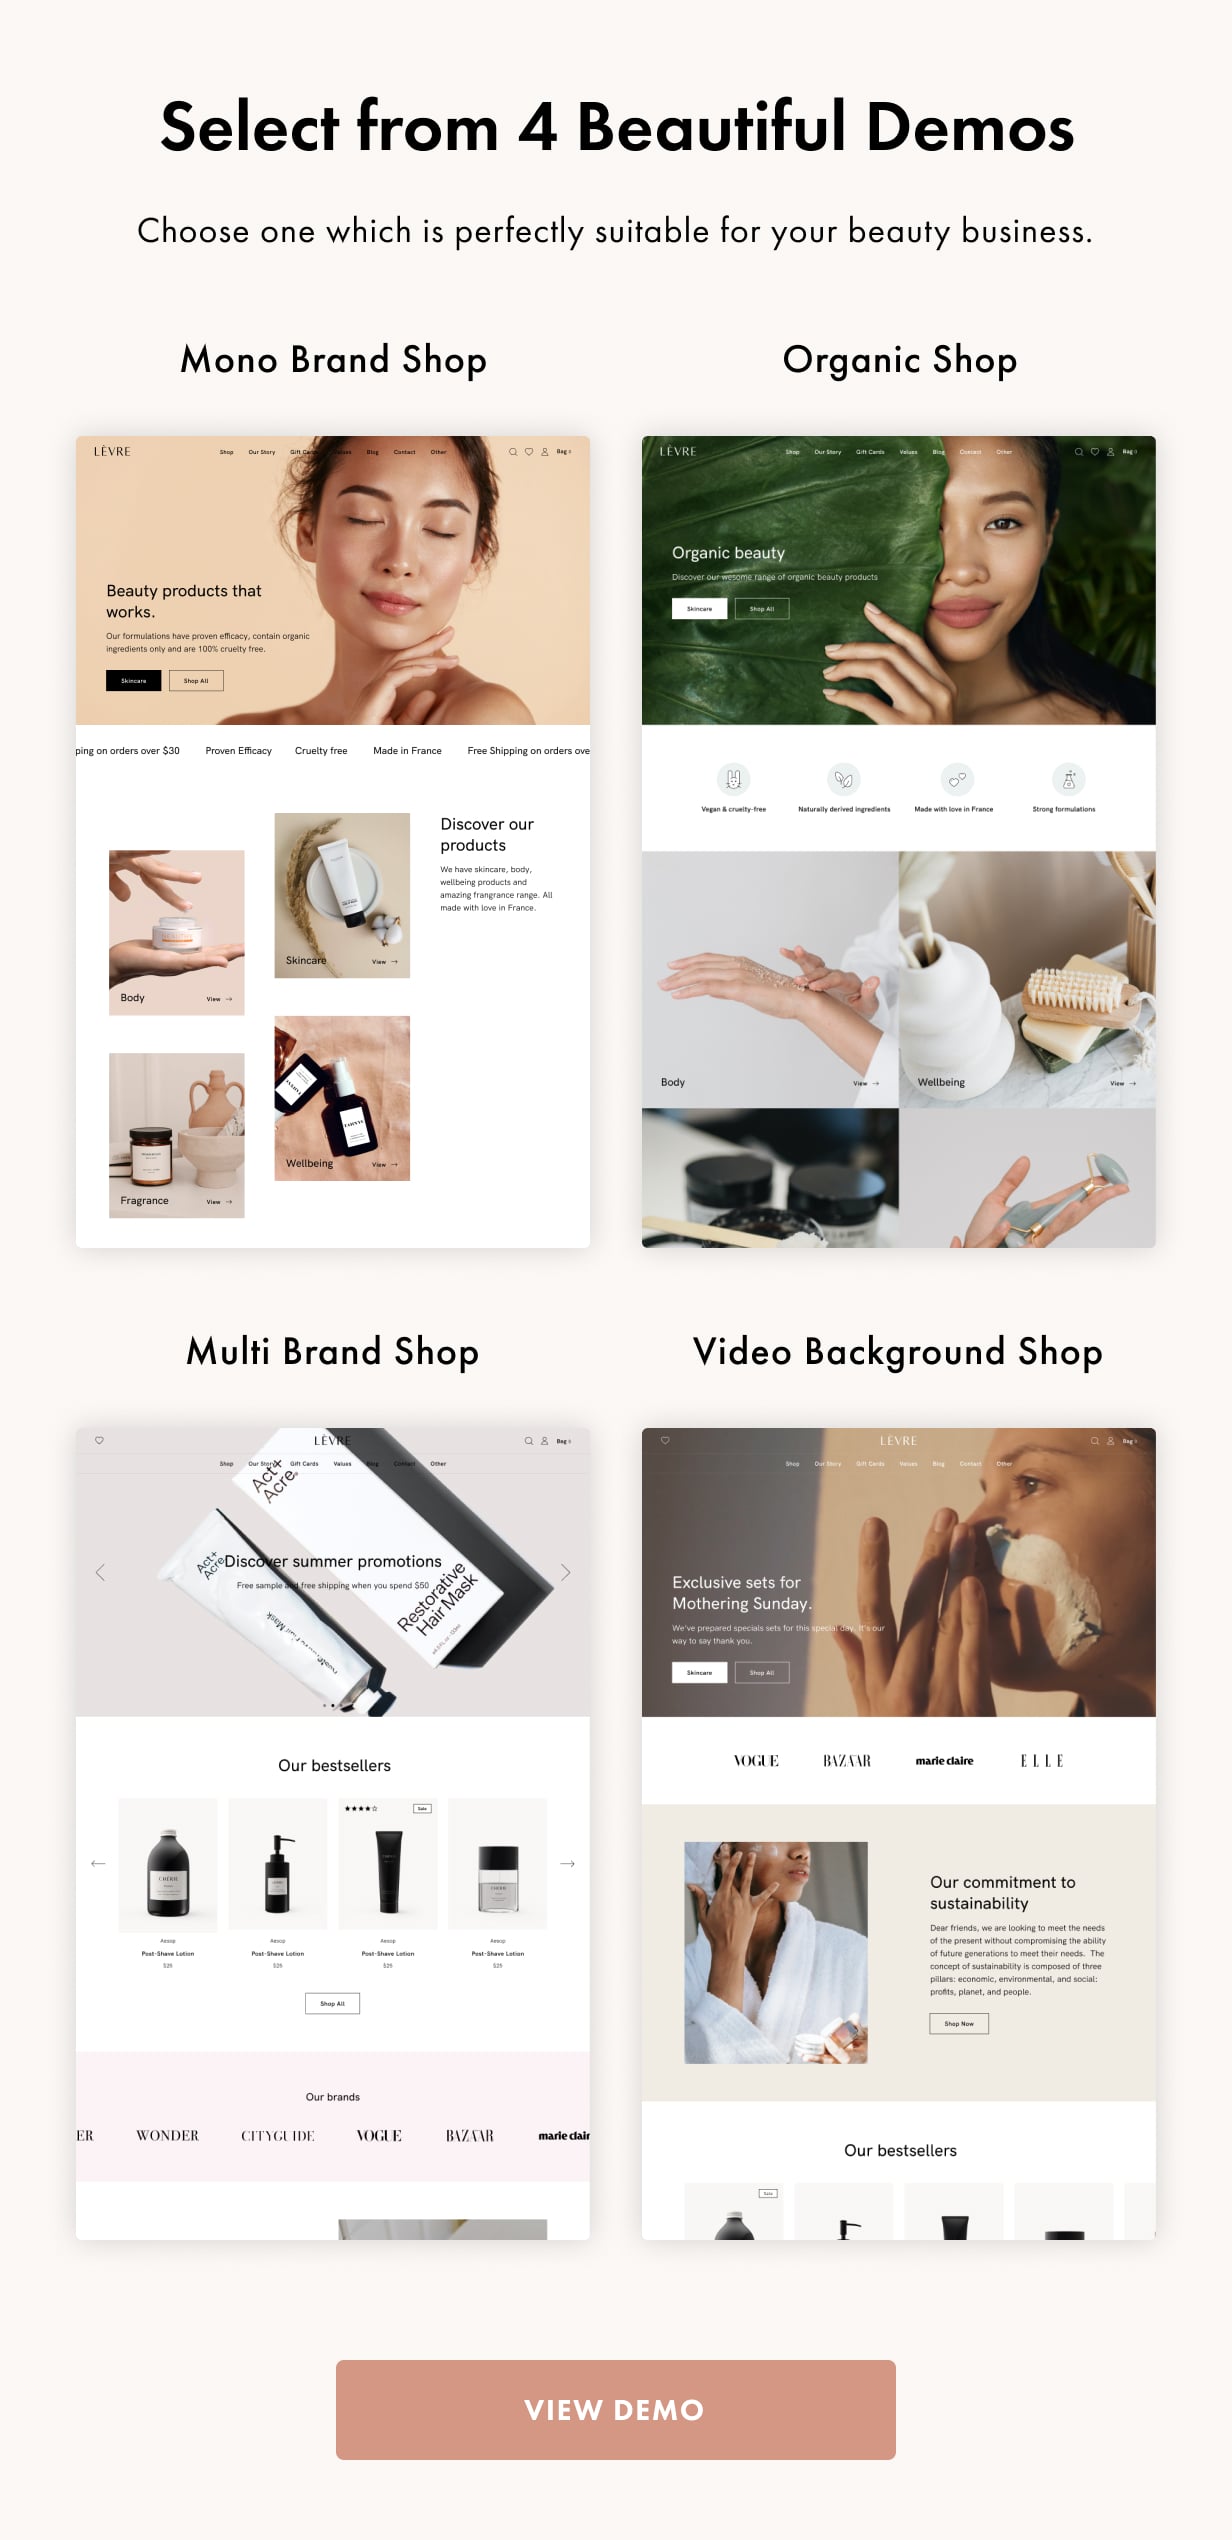
You should choose the demo you want to import and use for your theme and click on the Import button.
Demo import can take up to 10 minutes, please wait until it's finished. You will see the success message after the demo is installed successfully.
On the top bar, hover on the ‘home’ icon and select ‘Visit site’ you will see that the demo has been installed.
3. Theme Customization
In your admin panel hover on the home icon and select Visit Site.
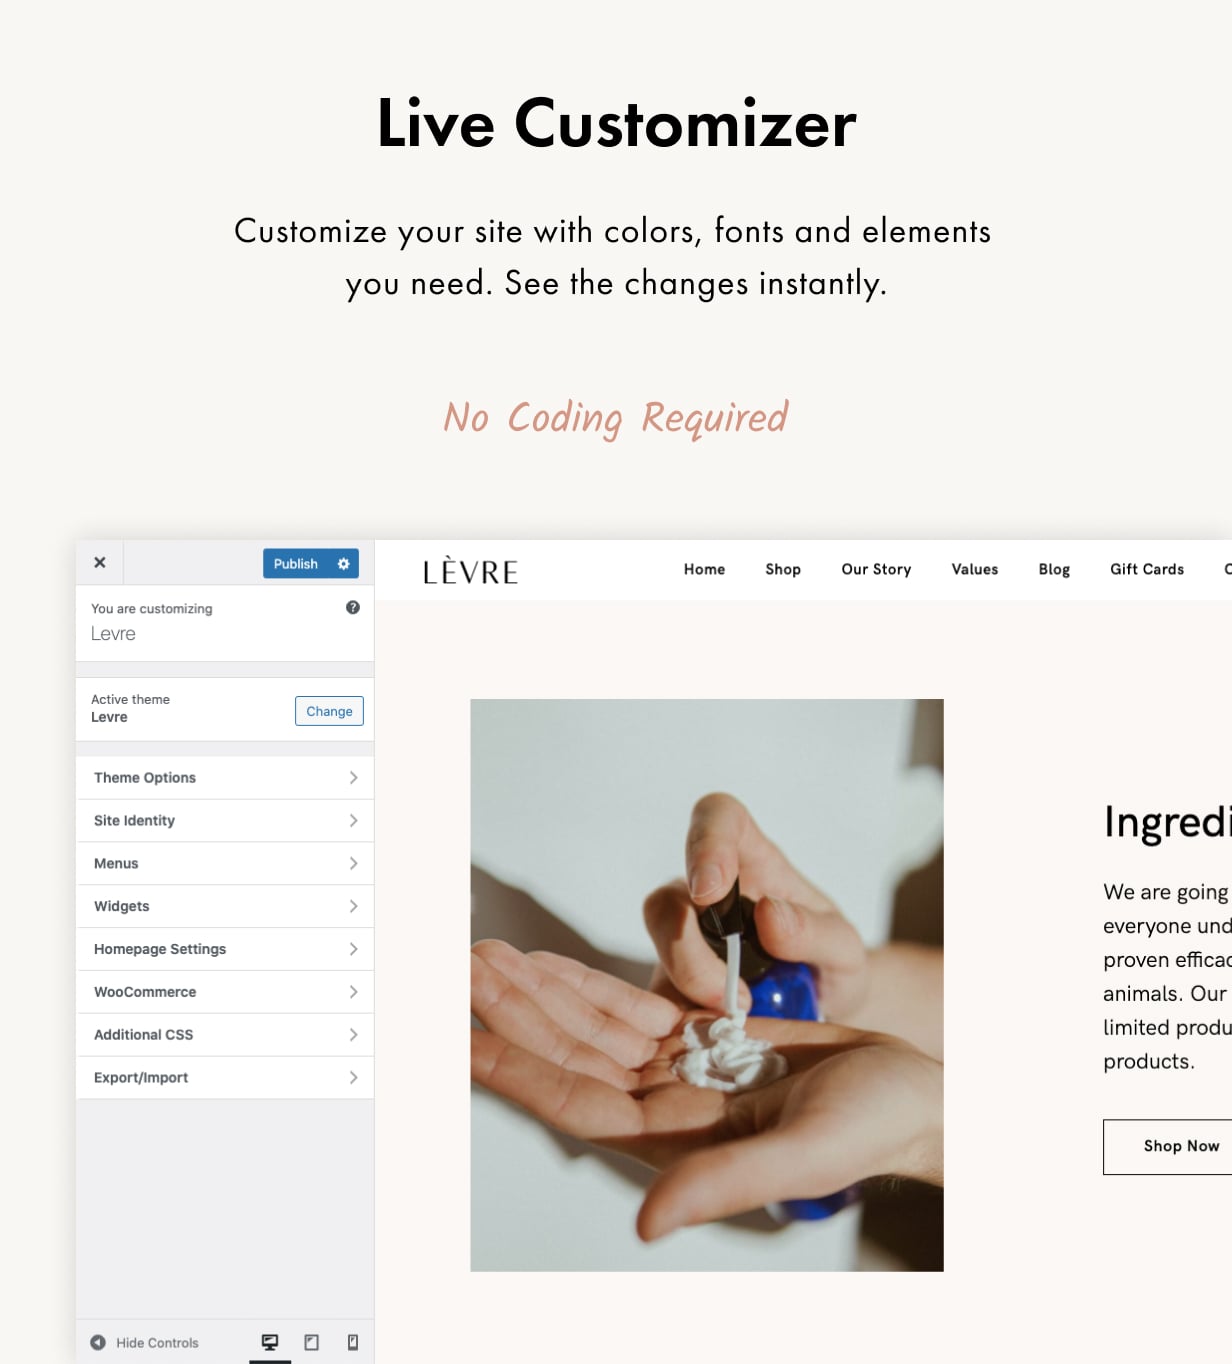
On top on the page click on Customize and you will see Customization Panel.

In the Customization Panel you can find settings that will be applied to the entire theme.
Once you have applied any changes you have to click on the Publish button to apply those changes.
3.1 Theme Options: Branding
Go to Customize > Theme Options > Branding. Here you can upload your logo. We suggest uploading a dark and a light version of your logo. You can also change the size of your logo and add a copyright to your website here.
3.2 Theme Options: Typography
Go to Customize > Theme Options > Typography. In this section you can change the site's font, simply choose Google Font you wish to use from the list. If you wish to use other custom font, you will need to upload it in the Custom Fonts tab of your admin panel. After youve uploaded it, it will be added to the list in the Customize > Theme Options > Typography section. If you wish to use Adobe Fonts, you will need to download and istall Custom Adobe Fonts (Typekit), after you've installed the font using this plugin, it will appear in the list in Customizer.
3.3 Theme Options: Colors
Go to Customize > Theme Options > Colors. You can change main colors of the theme in this section.

3.4 Theme Options: Navigation
Go to Customize > Theme Options > Navigation. In this section you can customize the general navigation values.
There are two option for the header you can choose from:


In this section you can also set up the background for your header, choose between static header and sticky header on scroll, select the type of navigation scroll animation, change the mega menu style and layout, hide/show the logo, show/hide Authorization, Seach, Wishlist, Shopping Bag icons. You can also show/hide and customize the top banner of the theme.
Make sure that 'Dynamic' Shopping Bag Type is selected. Dynamic shopping bag will be updated autamatically each type new product is added.

3.5 Theme Options: Footer
Go to Customize > Theme Options > Footer. Here you can customize the general footer settings: show hide footer attributes, customize icons.

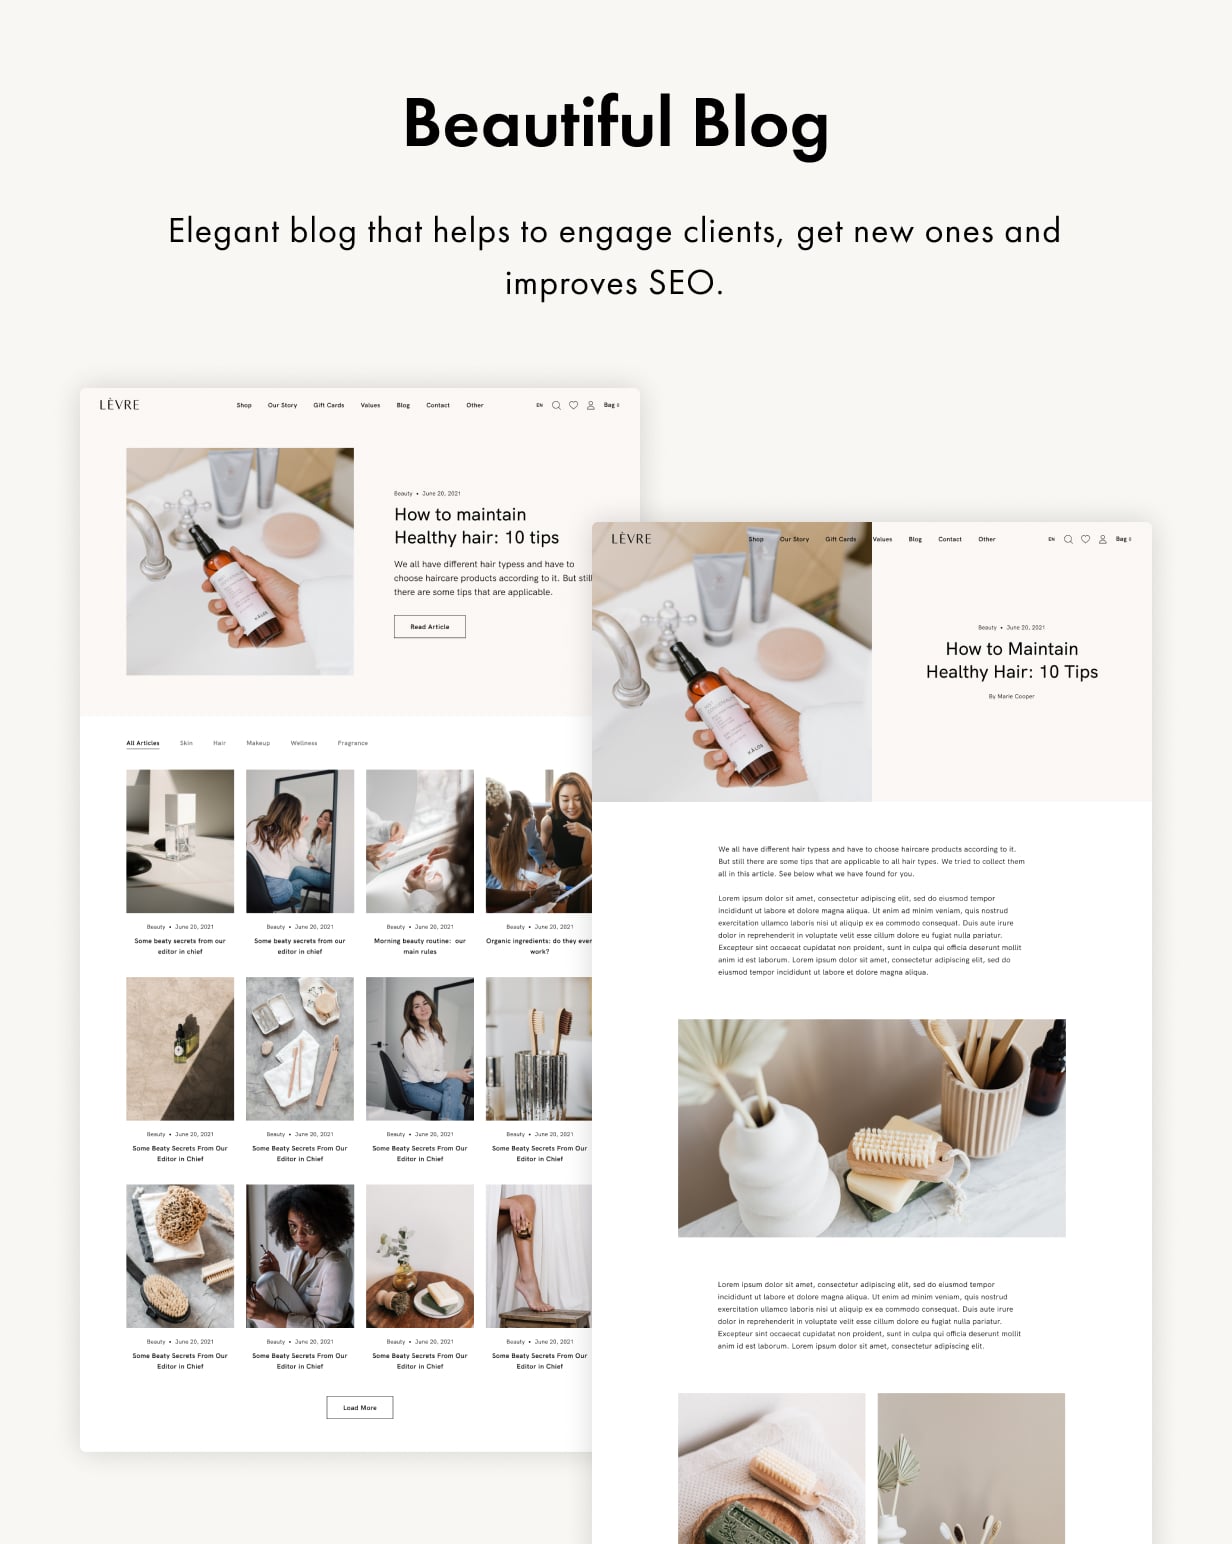
3.6 Theme Options: Blog
Go to Customize > Theme Options > Blog. In this section you can customize the general blog settings: show/hide filter tabs, show/hide sticky post, change the number of columns, select the pagination type, set up the sharing icons list, etc.

3.7 Theme Options: Career
Go to Customize > Theme Options > Career. In this section you can customize the general career settings.

3.8 Theme Options: Shop
Go to Customize > Theme Options > Shop. In this section you can customize the general shop settings. Here you can show/hide the hero image on top of the page, you can choose the top section to have text only or test on top of the image, you can change the background image, change title and subtitle, select the pagination type, choose the filter sidebar type, change the number of columns and grid items, enable/disable Related Products and Upsells sections, set up the newest items threshold.

By switching on/off the toggle 'Quick Actions Overlay' you can show/hide quick actions that appear on the product card:

To enable sidebar filters, you have to switch on the toggle Enable Filter Sidebar:

On mobile sidebar filters will be opened after user taps on the Filters button.


Filters will be shown on the web version and will be opened on mobile if they are added in the admin panel. To add filters you have to add WOOF widget in the Shop Filters Sidebar widget and remove its title:

After that add filters, fo to WooCommerce > Settings > Product Filter:

3.9 Theme Options: Social
Go to Customize > Theme Options > Social. In this section you can customize the general social media settings.

3.10 Theme Options: Optimization
Go to Customize > Theme Options > Optimization. In this section you can customize the Optimization settings.

3.11 Site Identity
Go to Customize > Site Identity. Here you can change the site title and add a favicon.

3.12 Menus
Go to Customize > Menus. In this section you set all the menu items you want to appear in the header and footer of your theme.
In the Footer Menu v1 you can select menu items you want to appear in the first column of the footer.
And in the Footer Menu v2 you can select menu items you want to appear in the second column of the footer.
In the Menu 1 section you can select pages you want to display in the header of your theme.

To change menu items in the header you have to select Menus > Menu 1. You will see the list of pages that are displayed in the header menu of your theme.

To change the label of the menu item or to remove it from the header you have to click on the label, e.g. Home v1 Mono Brand. To change Navigation Label, simply type in a new name in the field. And to remove the menu item click on the Remove action link.

To reorder menu items you can drag menu items and drop in the location you want it to appear in the header.
To add other pages to the menu, you need to click on the Add Item at the bottom of the list. You will see another panel on the right. Under Pages label there are all the pages you can add to the menu and they will appear in the header of your theme.

Press on the page name and it will be added to the left panel and appear in the header of your theme.
3.13 Homepage Settings
Go to Customize > Homepage Settings.
In this section you can choose a page that will be displayed as a home page of your theme.

3.14 WooCommerce
Go to Customize > WooCommerce. In this section you can enable/disable the store message. Choose what you wish to display on the main shop page: products, categories or products and categories. You can choose what to display on product category pages. You can also change how the products will be sorted in the catalogue by default.

You can also change the size of the product images in this section and set up your Checkout Page.


4. Mega Menu
In order to create a Mega Menu, go to your admin panel and select Appearance > Menus. Here you have to choose a menu item that is not a child item, expand it and enable Mega Menu toggle. After this, the selected item will become a Mega Menu.

If the selected item has hierarchy level O, all items undet it with hierarchy level 1, will become Mega Menu titles. All items with hierarchy level 2 and are child items of the level 1 items, will be standard menu items.

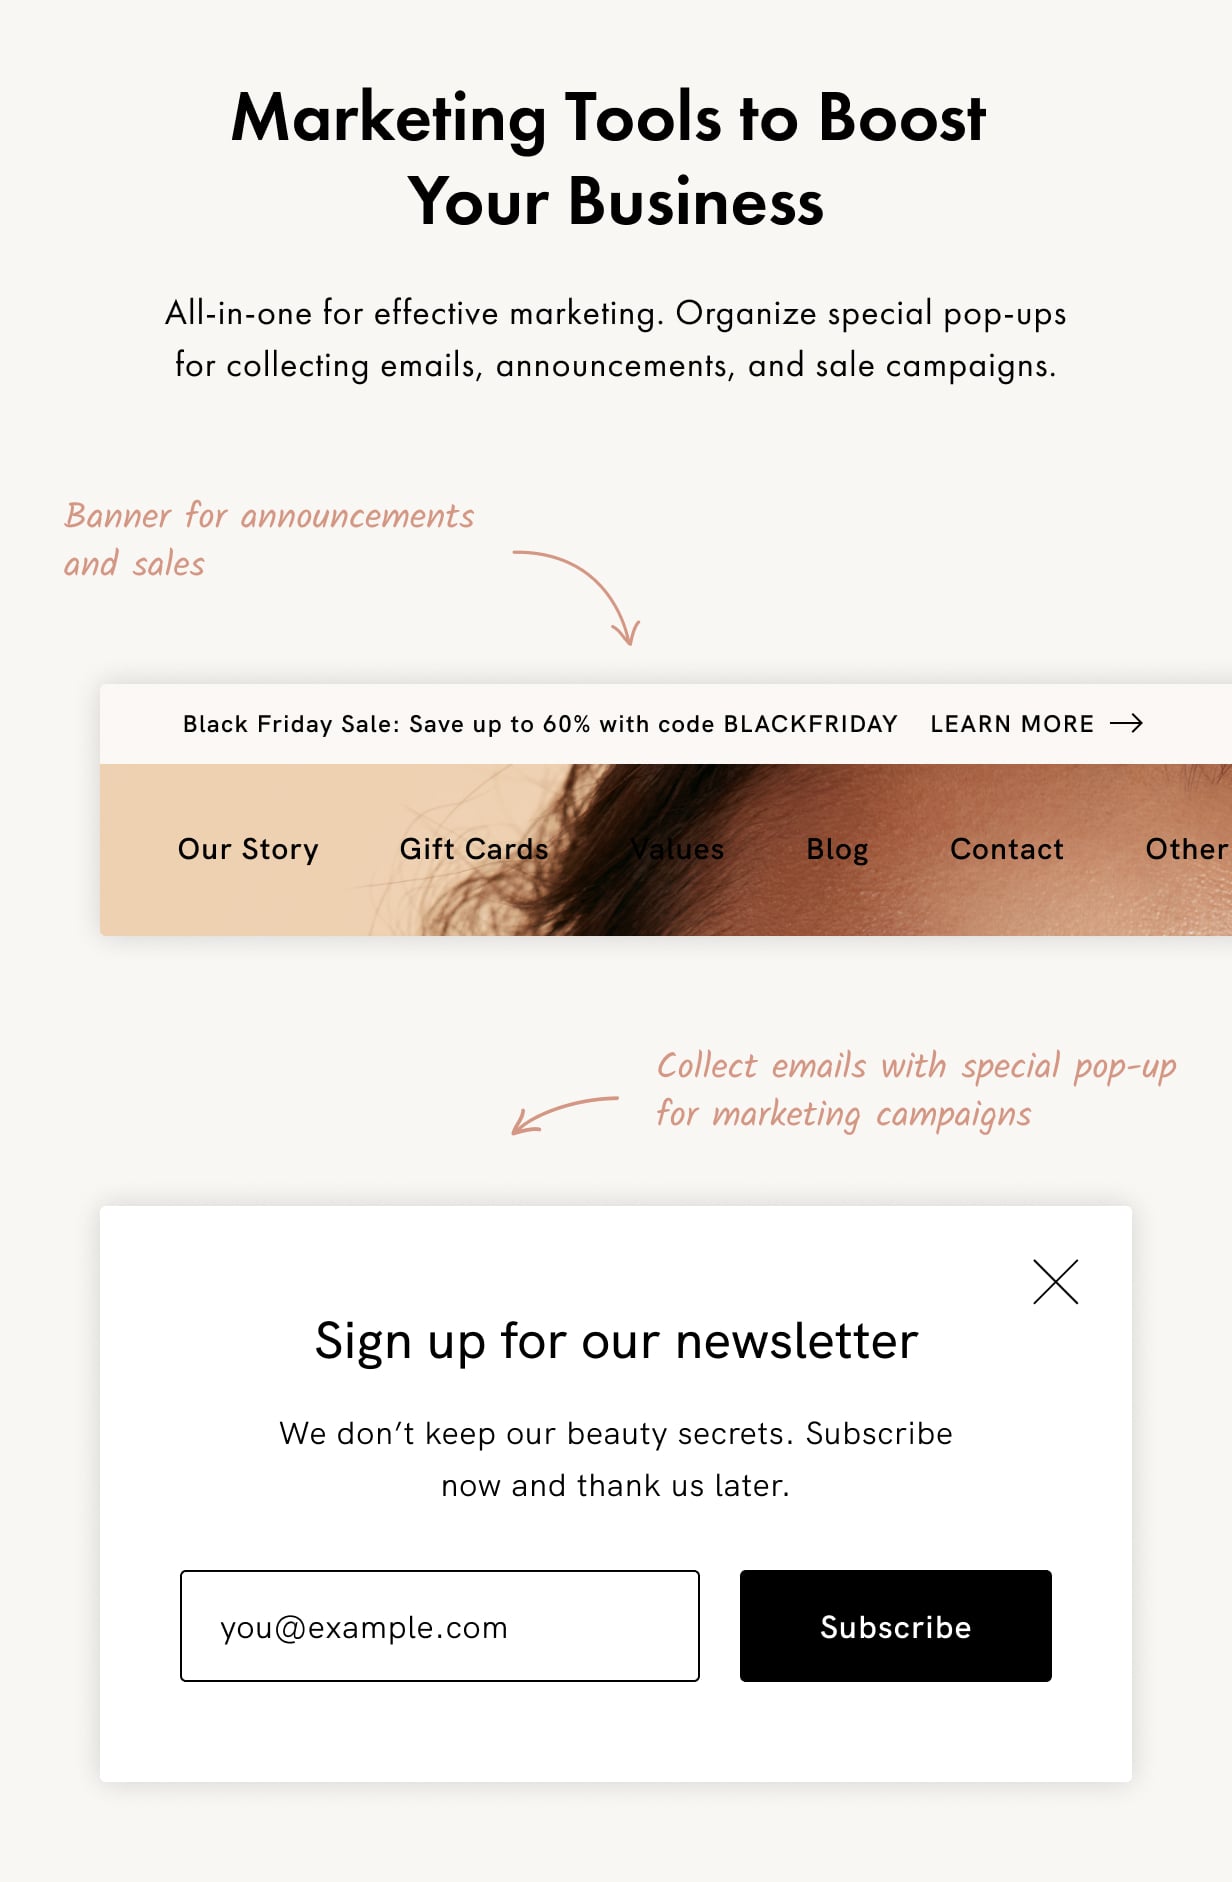
5. BoxZilla Popups
The theme has 3 popups: Newsletter Box, Career Position Apply Box, Career Successful Message. All the popups can be set up in the admin panel, BoxZilla tab. Here you can change popups' texts, images, forms and icons.

Since popups are united by logic, you can edit all external attributes (texts, images, forms and icons) but try not to change popups names and html in the text tab.
6. Products
Go to your admin panel and click on Products > All Products. Here you will see the list of all products available in the theme shop. To add a new product simply click on the Products > Add New.

To edit an existing product, hover on its name and click on the Edit action link.

To add a new product, click on the Add New button. For each product you should add its name, description, price, you can also add product categories and tags.

Don’t forget to add product image and images to the product gallery, suggested image size is 1052 by 1400px.

In some of demos we use single select chips for the size attribute, in others we use standard dropdown. You can choose any select type for any attribute on the product page here:

You can also add a video to your product gallery. There are 3 options for the video: custom video that can be uploaded to your gallery (.mp4 format), video from Youtube or Videmo. You'll need to add image preview for the video and video itself.

7. Brands
The Brands page is a list of brands in alphabetical order. On top of the page there is and index so that user is able to jump to certain letters in the list. If user clicks on the brand, shop catalogue page will be opened with the products filtered by the brand name. After you've imported the demo, go to Customize > Theme Options > Shop and select the page 'Brands' in the selector 'Brands Page' .

Go to your admin panel and open Products > Brands, here you can add/edit your brands.

You need to assign each product to a brand on the product details page in the edit mode. Go to the list of your products, click on the Edit link.

Select brand(s) for the product.

8. CTA Section
For any element of any post type, from posts to products and pages, you can choose a CTA template that is displayed in front of the footer.
To crate a new template or edit an existing, go to your admin panel and select Templates > Saved Templates tab.

This allows you to create any CTA section and display different variants of them on different pages and posts. For Products, there is also an additional template selection setting - after content. This is an Elementor template that will be displayed after the main information about the product and before the recent posts. You can edit the product through the elementor, regardless of the after content template, which is displayed in a strictly specified place.


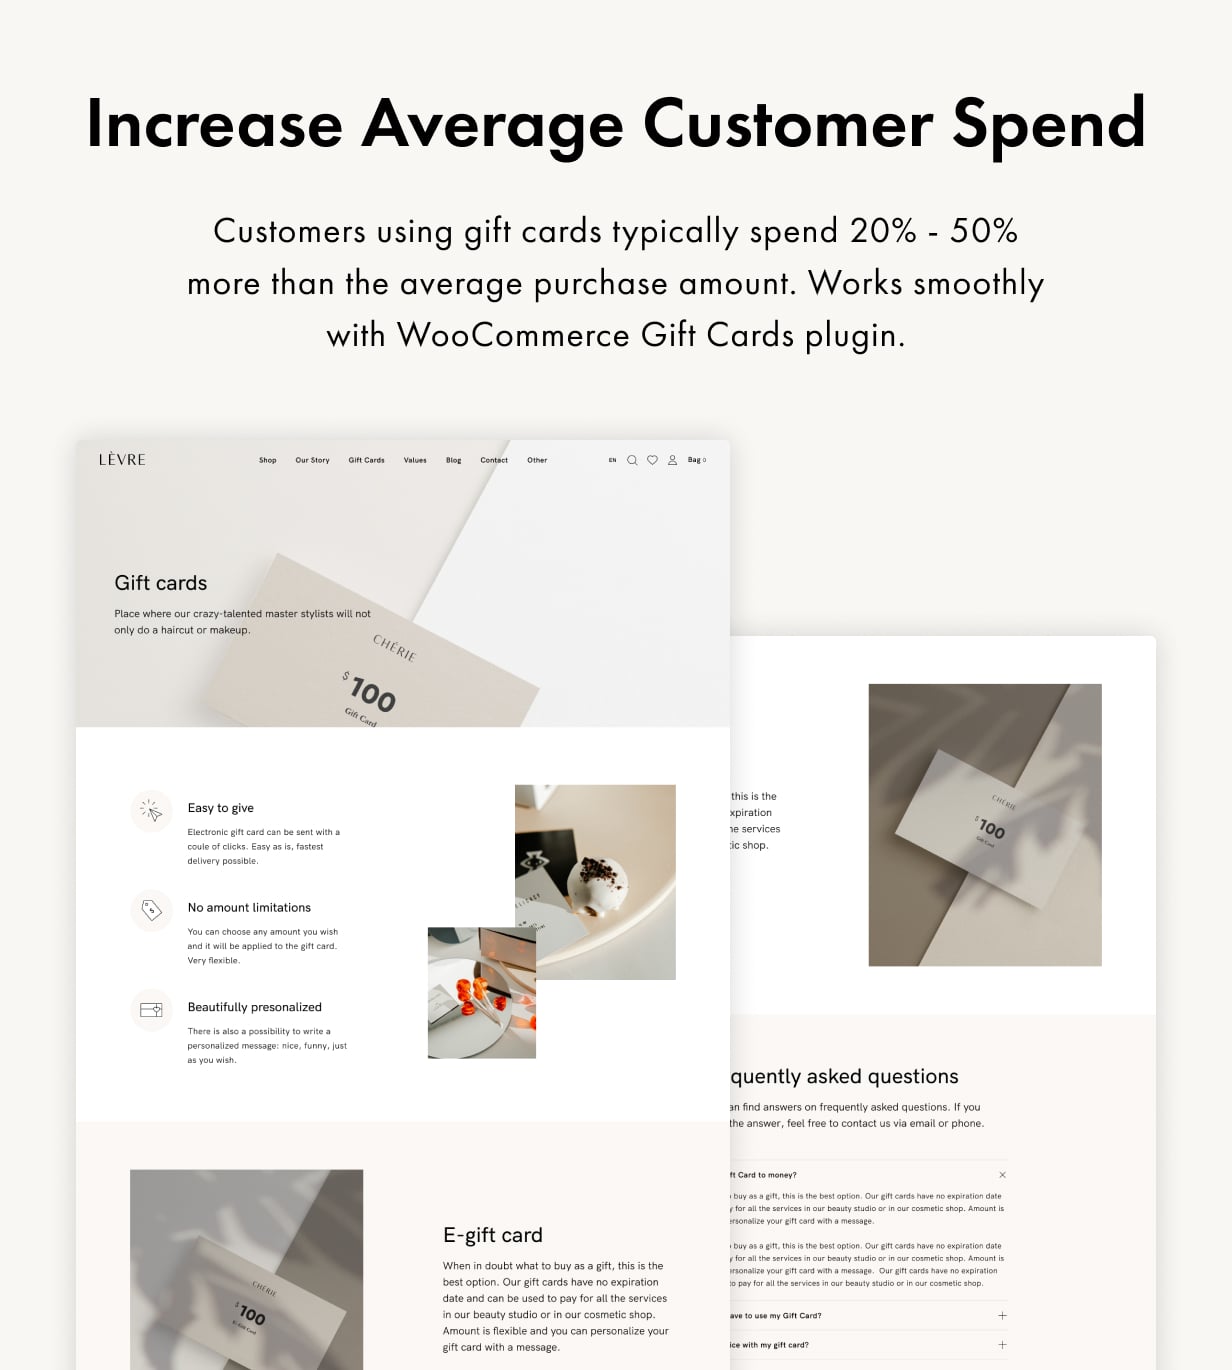
9. Gift Cards
You can set up the gift cards in your admin panel, Pimwick Plugins > Gift Cards tab.

To add a Gift Card, you have to create a new Product and select its type 'Gift Card'. Gift cards functionality in the theme is powerd by PW WooCommerce Gift Cards plugin.

10. Elementor Widgets
There are 13 widgets in the theme.
- Accordions.
- Button: 3 types, 2 styles.
- cf7form: displays the selected cf7 form.
- Content Tabs: displays tabs with content inside.
- Featured Product Categories: a grid with woo-categories, images for these grid items are taken directly from the page of each individual category. Category image is a native function of WooCommerce.
- Hero Slider: slider from homepage 3.
- Instagram Feed: widget that displays Instagram shortcode.
- Positions List: a widget that displays a list of positions on the career page.
- Posts Slider/Products Slider: for these sliders there are many settings for sorting, ordering, as well as settings for the appearance of the sliders (boxed/wide, arrows/pagination toggles etc).
- Testimonials: a block with logos that, on click, change the content in the tabs.
- Ticker: a scrolling widget into which you can insert everything from text to images or other widgets.
Shop Filters
To apply styles and set up filtering options of the shop, you should open your admin panel and select WooCommerce > Settings > Product Filters > Design. In Radio and checkboxes skin field select 'none'. In Overlay skins field select 'Default'.

Than go to Structure tab and follow the settings shown on the screenshot below. After that press save button and you will get filter style as shown on the demo.

This functionality is powered by plugin HUSKY.
12. Custom Product Variants
Custom product variants can be set up in your admin panel, Products > Attributes.

13. Wishlist
The settings of the Wishlist can be found in the admin panel, TI Wishlist. For the wishlist you have to create a separate page Wishlist and it should be selected as a wishlist page in the settings (if you've imported the demo, you already have it).

Wishlist functionality is powered by TI WooCommerce Wishlist plugin.
14. Track Order Page
Track order page is a simple Elementor page. The tracking form is displayed with the [woocommerce_order_tracking] shortcode

15. Instagram Feed Plugin
First of all, you have to install the Instagram Feed plugin. The author is Smash Balloon. You do not need a Pro Account to use our layouts for instagram, everything should work just out of the box. If you have followed our instructions on how to install the theme, all the plugins including this one should have been already installed and activated.
In a separate tab open instagram.com and log in to the account you would like to link.

Go to the Admin panel > Instagram Feed > Settings. Click on the Connect an Instagram Account button.

Select account type you would like to connect and press Connect.

You will see a confirmation popup, click Continue.

Confirm the account you would like to link by clicking on Connect This Account.

You will see a success message ‘Successfully connected’ and username of the account you’ve just connected to your theme. To save these settings click on the Save Changes. All done, go check the homepage and instagram section on it.

If your instagram looks differently, please go to Instagram Feed > Settings > Customize.

Scroll down and make sure that Enable Custom Templates checkbox is cheсked.

16. Homepage
To edit your homepage, open it and click on the Edit Page, the page will be opend in the edit mode. Click on the Edit with Elementor.


To edit the first section of the page you have to right click on the block and select Edit Section from the dropdown.

In the left side panel you will be able to edit the background image, select Style tab and upload your image.

To edit title and subtitle on the main image, click on the Edit icon and change the text in the left side panel.

To edit the buttons, click on the Edit icon near each button and change the text and link in the left side panel.

To edit the ticker, click on the Edit icon non the block and edit information in the left side panel. You can change the text, upload image instead of the text and edit the gap between each item.

To edit the product categories section, click on the Edit icon on the block and edit information in the left side panel. You can change choose one of 4 options for the block layout. You can also choose which product categories to display in this block.

Product categories can be added and edited in your admin panel, choose Products > Categories and add new product categories or edit existing ones.

All other sections are edited in a similar way, just click on the Edit icon and make changes in the left side panel.
17. Contact Form 7
For the detailed information about the Contact Form 7 plugin, please read the official guide here.
18. Multilingual Settings
19. WordPress
Since WordPress is constantly being updated information about how to install WordPress may become out of date, so you can always read the official guide here.
Here you can find some useful links about the WordPress:
WordPress Codex – general info about WordPress and how to install it on your server.
First Steps With WordPress – general information that covers a wide variety of topics.
FAQ New To WordPress – the most popular FAQ’s regarding WordPress.
20. GDPR
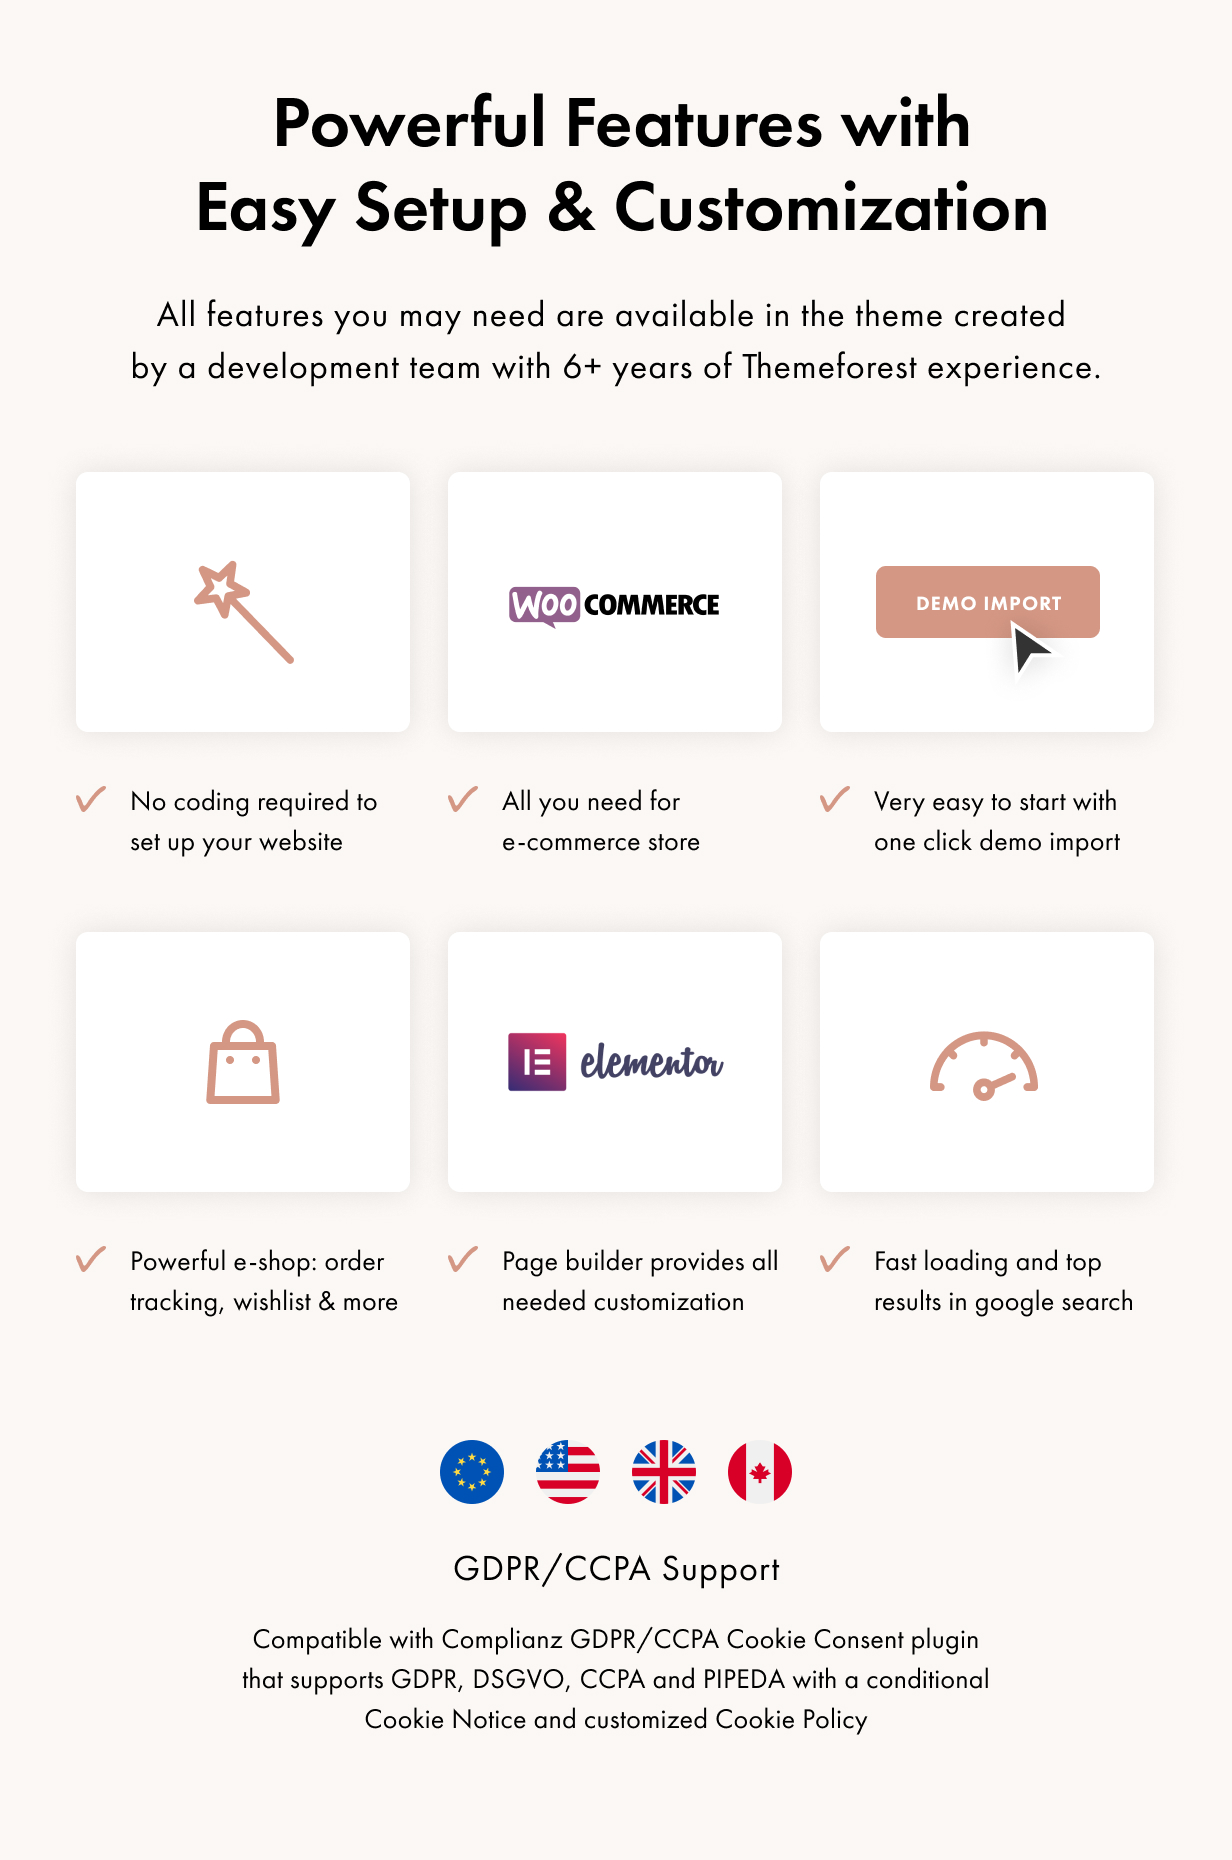
We suggest using Complianz – GDPR/CCPA Cookie Consent plugin. Complianz is a GDPR/CCPA Cookie Consent plugin that supports GDPR, DSGVO, CCPA and PIPEDA with a conditional Cookie Notice and customized Cookie Policy based on the results of the built-in Cookie Scan.